
Cutting & Edging for DIYers: What You Need to Know Before You Start
Taking on a cutting and edging project at home can be both exciting and rewarding. Whether you’re crafting a custom cabinet, building a shelving unit, or giving your furniture a makeover, understanding the basics of cutting and edging is essential. Without the right approach, it’s easy to end up with uneven edges, chipped panels, or wasted materials.
This guide will give you the confidence to tackle your DIY projects while achieving results that look professional.
What Cutting and Edging Services Actually Involve
Cutting and edging work might sound technical, but at its core, it’s about two things: cutting panels to the right size and covering raw edges to make them look neat and durable. Materials such as MDF, melamine, plywood, and laminate are commonly used in DIY projects, but they can chip or splinter if handled improperly.
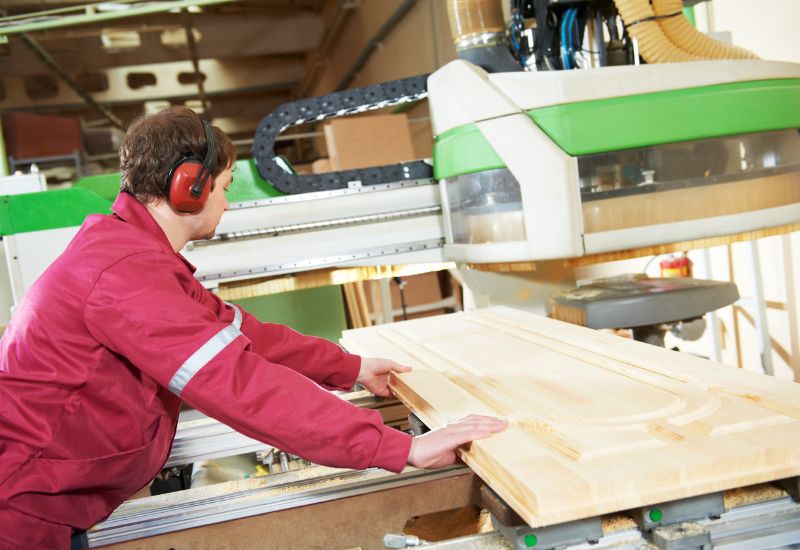
Cutting involves shaping panels to precise dimensions, usually with a saw or CNC router. Edge banding is about applying a thin strip, made of PVC, ABS, wood veneer, or melamine, to cover the raw edges. This not only improves the look of your project but also protects it from moisture and wear. Knowing these steps can save time, money, and frustration.
Choosing the Right Materials
The materials you choose play a big role in how easy or tricky your project will be.
MDF is smooth and consistent, making it perfect for painting, but it creates fine dust that requires proper safety gear.
Plywood is strong and more resistant to moisture, but it can chip if cut incorrectly.
Melamine boards are popular for DIY projects because they’re affordable and come in lots of finishes. Cutting melamine requires a sharp blade and a steady hand to prevent peeling.
When picking edge banding, think about durability, appearance, and compatibility. PVC edging is flexible and moisture-resistant, while wood veneer gives a natural, high-end finish.
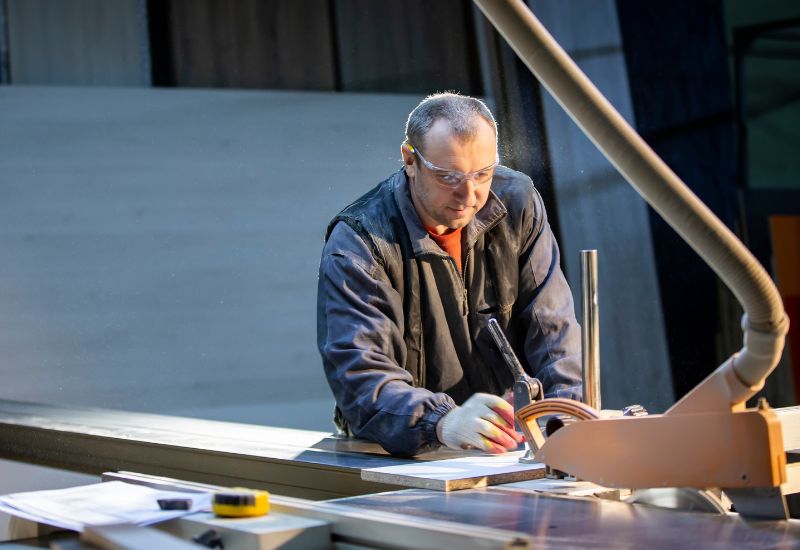
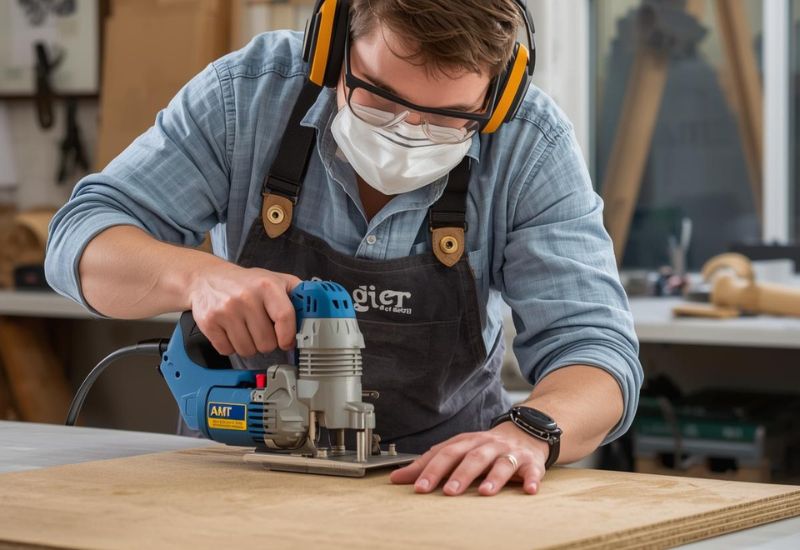
Essential Tools and Safety Tips
Having the right tools makes a huge difference. Here’s what you’ll need:
- A table saw or circular saw with fine-tooth blades
- A router for trimming edges
- An edge banding iron or trimmer
- Clamps and measuring tools to keep everything accurate
Safety is key. Always wear goggles, a dust mask, and ear protection, especially when working with MDF. Make sure your panels are secured before cutting or edging to prevent accidents, and work in a well-ventilated space.
Cutting Techniques for a Clean Finish
Clean cuts start with accurate measurements. “Measure twice, cut once” isn’t just a saying; it’s a lifesaver. Use a straightedge or guide rail to ensure straight lines. For melamine or laminate, lightly scoring the cut line with a utility knife helps prevent chipping.
When using a table saw, set the blade just above the thickness of the panel to reduce tear-out. For curved or intricate cuts, a jigsaw or CNC router offers better control. After cutting, check the edges for rough spots and lightly sand them if needed.
Edge Banding Tips That Actually Work
Applying edge banding is easier than it looks, but the details make a difference. Heat-activated adhesive edging is applied with an iron or edge bander and pressed firmly for a strong bond. Trim any excess with a sharp knife and sand lightly for a smooth finish.
Think about the edge profile you want. Rounded edges are gentle on hands and less likely to chip, while square edges give a modern, sharp look. Consistency is key; uneven edges can make even a well-cut panel look amateurish.
Common DIY Challenges and How to Avoid Them
Even experienced DIYers run into problems like chipping, uneven edges, or edges that won’t stick. High-quality blades and edge banding materials can prevent many issues. Work slowly, take your time, and make sure panels are clean, dry, and dust-free before applying edging.
One common mistake is neglecting panel preparation. Ensure the surface is clean, dust-free, and dry before applying edge banding. For larger projects, a controlled workspace with good lighting and ventilation can prevent warping and make sure every panel is consistent. Starting small and building confidence with simpler projects is a great strategy.
Why Professional Services Make a Difference
While DIY cutting and edging projects are rewarding, professional services can save time, reduce material waste, and deliver consistently precise results. According to a report by the Australian Bureau of Statistics, 38% of Australian households engage in home improvement projects annually, yet many experience setbacks due to a lack of technical skills. Leveraging expert knowledge ensures panels are cut accurately and edges are applied seamlessly, enhancing both aesthetics and durability.

Putting Your Skills into Action
Once you understand the basics, your DIY possibilities expand. From custom cabinets to shelving and furniture updates, precise cutting and clean edges make a noticeable difference. Plan carefully, choose the right materials, pay attention to detail, and your projects can look like they were made by a professional.
Whether you’re creating a bespoke storage solution or refreshing your furniture, mastering these techniques improves your results and keeps frustration to a minimum. With patience and practice, your DIY projects can achieve a polished, high-quality finish.
Choosing a Trusted Cutting and Edging Partner in Melbourne
Sometimes, combining DIY effort with professional support is the best approach. Magri Cabinets is a leading cutting and edging service in Melbourne, offering expert panel cutting, edge banding, and custom cabinetry solutions. Their knowledge and precision ensure every project, big or small, meets the highest standards.
Partnering with a trusted service saves time, reduces waste, and guarantees results that look and last like a professional job. At Magri Cabinets, every project is handled with care and tailored to your needs. Contact us today to see how we can help bring your DIY projects or full-scale renovations to life.


